


Tarping a roof is a temporary solution to protect the roofing system on the outside of a home, and it prevents rainwater, debris, and anything else from entering. If you are a homeowner, or handyman who’s good with roofing and carpentry, follow our expert guide to learn how to tarp a roof leak properly.
Before you start, remember that safety is key. Tarping roof leaks require working with heavy wood and dangerous tools, which is why professionals and the state recommend hiring a licensed roofing contractor for the job.
Here’s a list of safety gear required during roof tarp installation.
Safety Gear Required To Work On Roofs
The proper way to tarp a roof is by using the right tools, safety measures, and equipment. Most of these materials are readily available for roofing contractors, but if you’re a homeowner trying to do a DIY project, these are some of the must-have safety gear you need while working on a roof.
Hard Hat
A hard hat is designed to protect the head from impact, penetration, and electric shock. A hard hat is typically made of high-density polyethylene (HDPE) that has a tough shell with a shock-absorbent lining. Hard hats are essential for anyone working on a roof where there is a risk of falling.
Safety Harness
A safety harness is a personal protective device that is worn to secure a person whose working at great heights, such as a roof. It is worn around the torso and legs and attached to a secure anchor point to prevent falls and keep the person safe.
Rubber-Soled Shoes
These are essential when working on a roof since they provide good traction and prevent slips and falls. The rubber soles also offer good insulation and protection against electrical hazards you may come across.
Eye Protection
When working on a roof, it is essential to wear protective eyewear, such as safety goggles or safety glasses, to shield your eyes and ensure your vision is not obstructed and your eyes are safe from injury or irritation caused by debris, dust, or glare.
Rubber Gloves
It is important to wear gloves to protect your hands from cuts, blisters, and sharp objects. Rubber gloves offer a good grip, dexterity, and durability that are suitable for tasks that require hand protection. They also provide a barrier against harsh chemicals, dust, and other substances that can irritate or harm the skin.
It’s essential to have everything in place before climbing up a roof and starting work. You must also go through the local building codes to check the roofing requirements. The next list is extensive since there are a number of specialized roofing tools and equipment required to tarp a roof.
Tools Required For Tarping Roof Leaks

Besides a large, waterproof tarp, you’ll need several specialized tools to correctly secure the tarp to your roof. Otherwise, loose tarps could be blown away and cause trouble to your neighbors or become damaged by the wind. You should also keep in mind that some of these tools are expensive and dangerous to operate without experience. But when you take advantage of professional roofing services, your insurance may also cover a roof leak caused by storm damage.
Some of these tools include:
- Roof tarps
- Duct tape
- Scissors
- Ropes
- A ladder
- Roofing nails or screws
- A hammer or drill
- Wooden boards
- Roofing cement or silicone sealant
The first step to a successful roof tarp installation is to follow the safety guidelines and work with proper professional tools to avoid project failure and accidents.
Now, let’s move on to learning how to tarp a roof leak.
How To Tarp A Leaking Roof
To tarp a roof leak properly, put on all the required safety gear and prepare the necessary materials and tools. Make sure you have at least two more helpers who can hold the ladder and hand over the tarp, tools, and equipment when you climb up.
Step 1:
Secure the ladder to the roof and ground. Let your helper hold the ladder as you climb up carefully while wearing a harness.
Step 2:
Attach your harness to a truss or rafter at the center of the ridge using large roofing nails. You can use a drill or roofing hammer to secure the nails and screws.
Step 3:
Now, you need to find the roof leak. Inspect the roof for the leak’s source so you can determine the best location to place the tarp. It’s not feasible to tarp the entire roof.
Step 4:
After finding the leak, cut the tarp to a sufficient size that will cover the leak, plus an extra 3 feet of the tarp to cover the area.
Step 5:
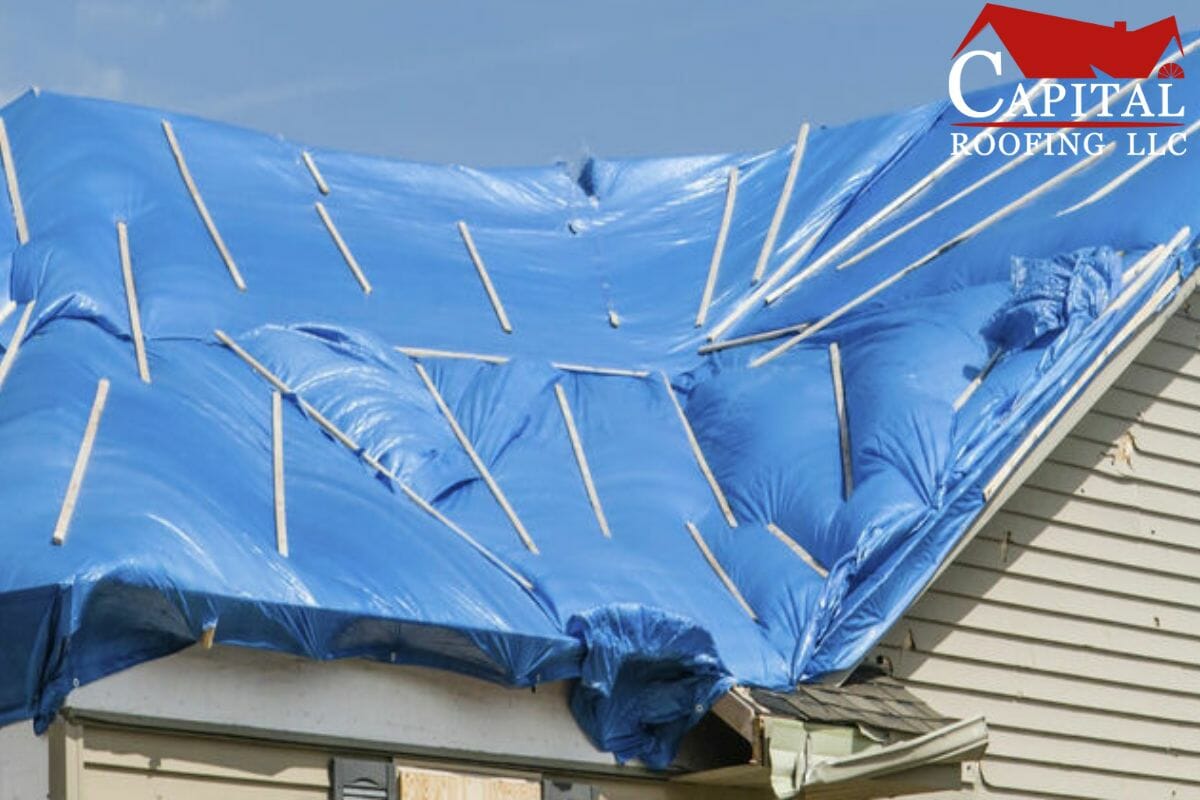
Place wooden anchor boards around the leak and drill them into the roof. This will create a solid base for the tarp to be laid down and distribute its weight evenly so that the tarp will not sag or fly away. Placing the tarp over the anchor wood also prevents the tarp from sticking to the shingles and damaging them more.
Step 6:
Place the tarp over the wooden boards and secure the edges using duct tape or sealant. Drive roofing nails or screws through the tarp and into the wooden boards.
Step 7:
Seal the edges of the tarp using a sealant to prevent small gaps where air and water could seep in.
Step 8:
Inspect your work to make sure the tarp is securely in place and will provide adequate protection from the elements.
Step 9:
Clean the area properly and hand over all tools and materials to your helper before climbing down from the tarped roof.
Remember, do not climb up and down the ladder while carrying everything by yourself. It could be quite dangerous if you don’t have much practice with such work. Also, tarping roof leaks isn’t a permanent solution. Whether your roof only leaks sometimes or it’s happening more frequently, you will ultimately need to repair it and put a stop to the issue that caused the leak.
The best way to tarp a roof leak and repair your roof permanently is by hiring a licensed, insured, and experienced roofing contractor. After all, professional roof tarping and repairs are more cost-effective and safer than buying everything and doing it yourself.
If you live in Claremore or the surrounding regions in Oklahoma, we can help you get your roof back in good shape.
Looking For Reliable & Fair Roofing Services?
At Capital Roofing, LLC we’ve been improving Oklahoma homes for years! We are proud to say that our skilled and friendly team is the #1 choice for emergency roofing services like storm damage repair, and roof tarping. We know how to find a roof leak and its cause quickly, and we can help you get rid of it in no time!
Our team is equipped with the industry’s latest technology and knows how to fix a roof leak without disturbing your everyday routine. If you are having trouble with your leaky roof and want a temporary or permanent solution for it, call us at (918) 260-4075. We will be happy to offer you a free estimate on your roof tarp installation and repairs.
We hope you now understand how to tarp a roof leak, and we look forward to solving your roofing problems.
Related Articles
-
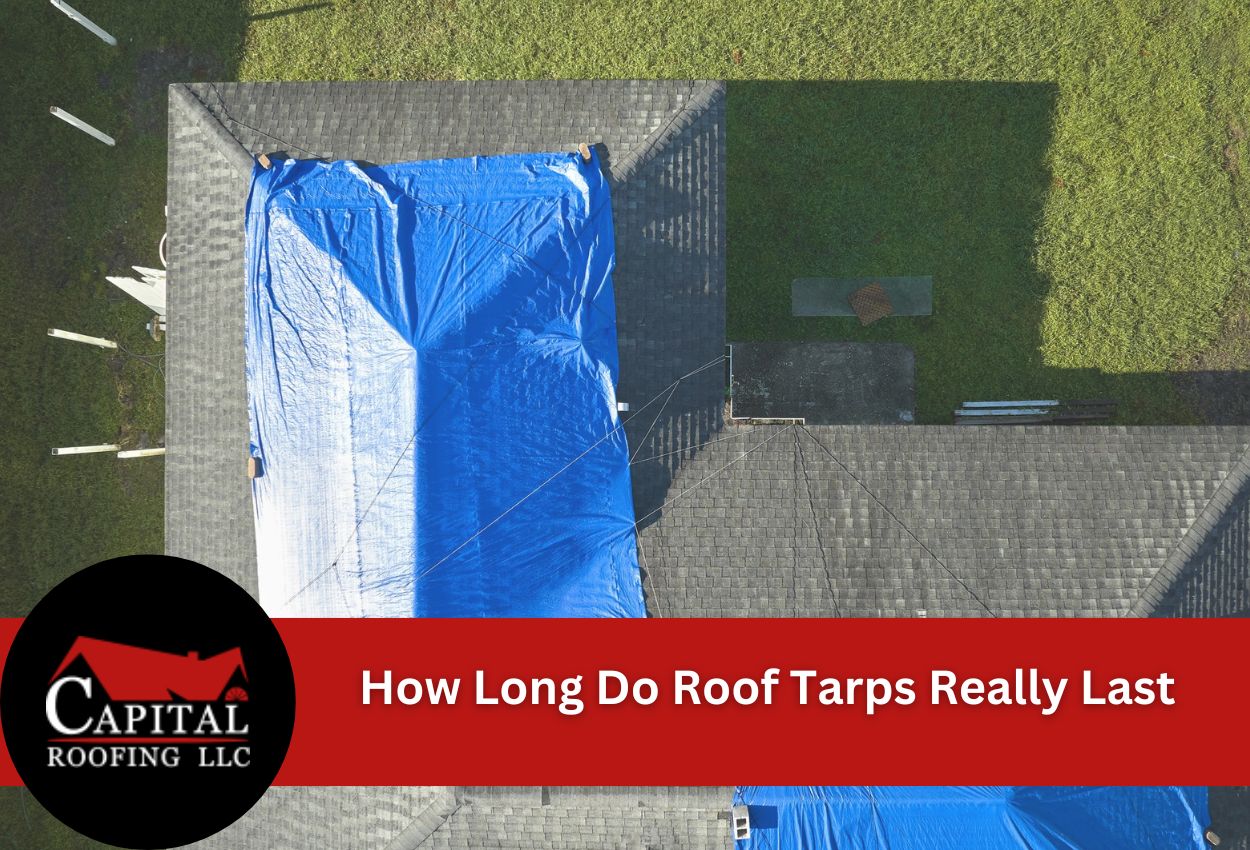 September 13, 2025How Long Do Roof Tarps Really LastRoof tarps are an important, temporary protection when storms, fallen trees, or other emergencies damage residential roofing systems. Knowing how long roof tarps last becomes essential for homeowners facing unexpected roof damage who need reliable temporary coverage while planning and waiting for permanent repairs. The lifespan of roof tarps varies significantly based on the material […]
 -
 November 9, 2022Roof Tarps: Everything Homeowners Should KnowRoof tarps are waterproof sheets built to protect your roof and home from all sorts of external damage, including storms and debris. When you feel the need to cover your roof, you must learn some crucial facts before buying a tarp. At Capital Roofing, we help homeowners choose the right roofing material to make their […]
 -
 November 23, 2025The Signs Your Shingle Roof Needs Emergency TarpingStorm-damaged shingles? Learn the warning signs and when to use emergency tarping to protect your home.
Protect Your Home with Expert Roofing
Don’t wait for leaks or storm damage to cause costly repairs. Our experienced roofing team provides fast, reliable service, high-quality materials, and lasting results. Ensure your home stays safe, secure, and looking great—contact us today for a free estimate.